Why This Is Needed
Instagram uses Facebook's technology behind the scenes. To connect Instagram to any third-party scheduling tool (including Autoposter), your Instagram needs to be:
- A Professional Account (Business or Creator)
- Linked to a Facebook Business Page
This is a requirement from Meta (the company behind both platforms), not something specific to Autoposter. See Meta's official guide: Connect or disconnect your Instagram account and a Facebook Page.
📱 Mobile Setup (iPhone / Android)
This is the easiest way if you mainly use Instagram on your phone.
Step 1: Switch to a Professional Account
If your Instagram is already a Business or Creator account, skip to Step 2.
- Open the Instagram app
- Tap your profile picture (bottom right)
- Tap the ☰ menu (top right) → Settings and privacy
- Scroll down to Account type and tools
- Tap Switch to professional account
- Choose Business or Creator — either works with Autoposter
- Select a category that fits your content and tap Done
📖 Official guide: Set up a professional Instagram account
Step 2: Create a Facebook Page (if you don't have one)
- Open the Facebook app
- Tap the ☰ menu → Pages
- Tap Create
- Enter a page name (can be your creator name) and category
- Tap Create Page
Step 3: Link Instagram to the Facebook Page
From the Instagram app:
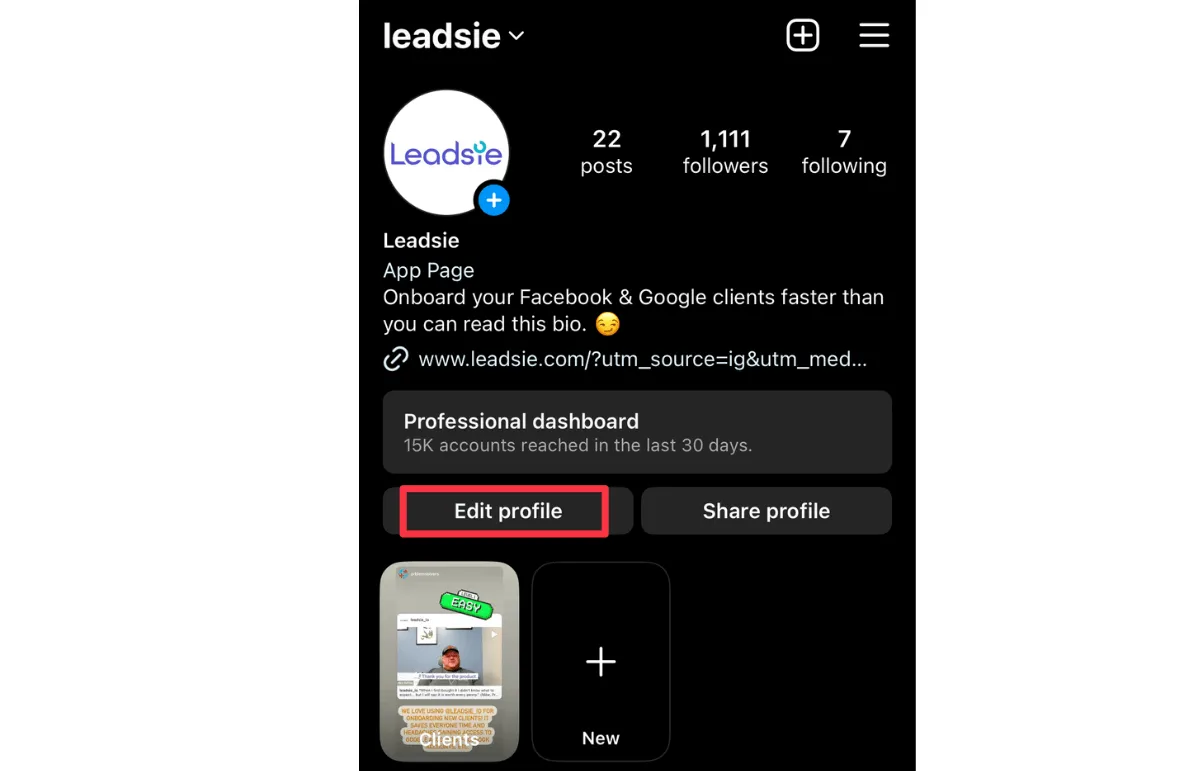
- Go to your Instagram profile
- Tap Edit profile
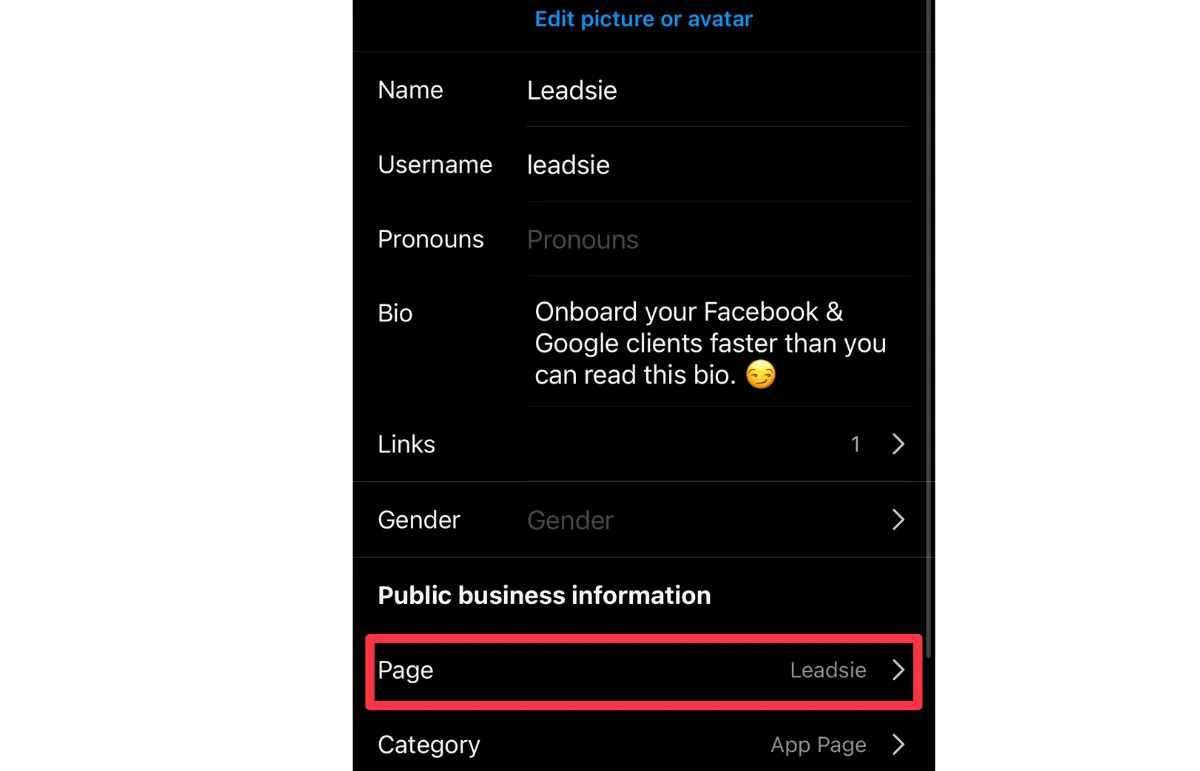
- Tap Page (under "Profile information")
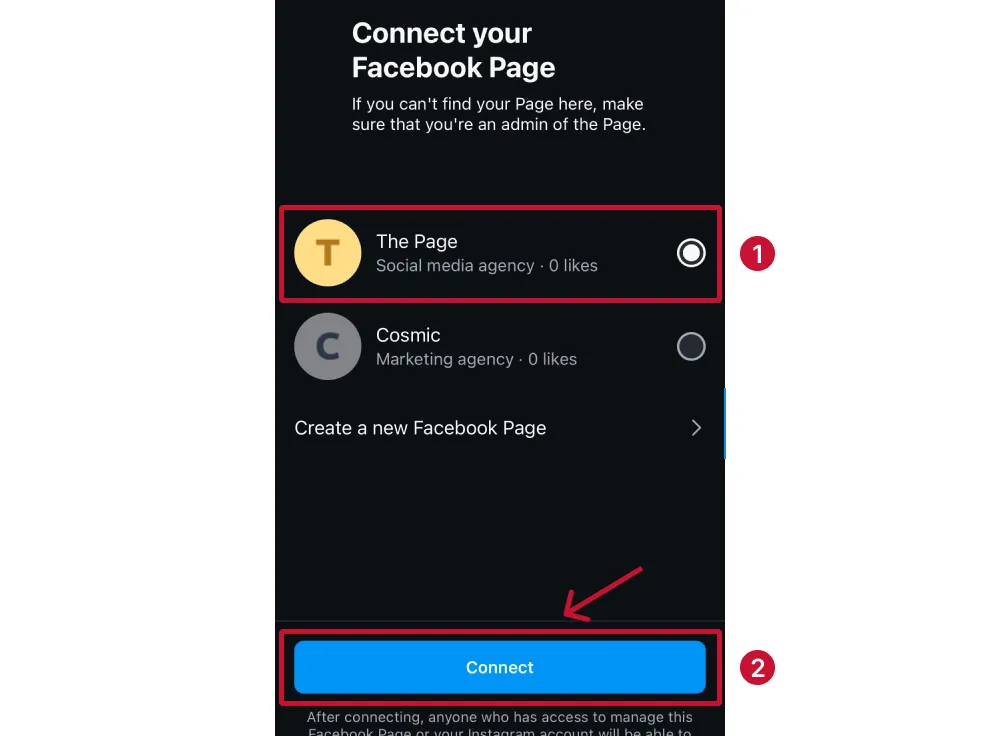
- Select Connect or create a Facebook Page
- Choose the Facebook Page you just created (or an existing one)
- Tap Done
📖 Official guide: Add or change the Facebook Page connected to your Instagram
Step 4: Connect in Autoposter
- Open Autoposter in your phone's browser (or use a computer)
- Go to Accounts → tap + → select Instagram
- Facebook will ask you to log in — select the Page you linked
- Grant all permissions (publishing, insights, etc.)
- Your Instagram account should now appear in Autoposter
💻 Desktop Setup (PC / Laptop)
Use this method if you prefer setting things up on a computer via Meta Business Suite.
Step 1: Switch to a Professional Account
This step must be done on the Instagram mobile app — it's not available on desktop. Follow the mobile Step 1 above, then continue here.
Step 2: Create a Facebook Page (if you don't have one)
- Go to facebook.com/pages/create
- Enter your page name and category
- Click Create Page
- Add a profile photo and cover image (optional but recommended)

Step 3: Link Instagram via Meta Business Suite
- Go to Meta Business Suite Settings
- In the left sidebar, click Accounts → Instagram accounts
- Click Add Instagram Account
- Enter your Instagram username and password
- Confirm the connection
Alternatively, from your Facebook Page:
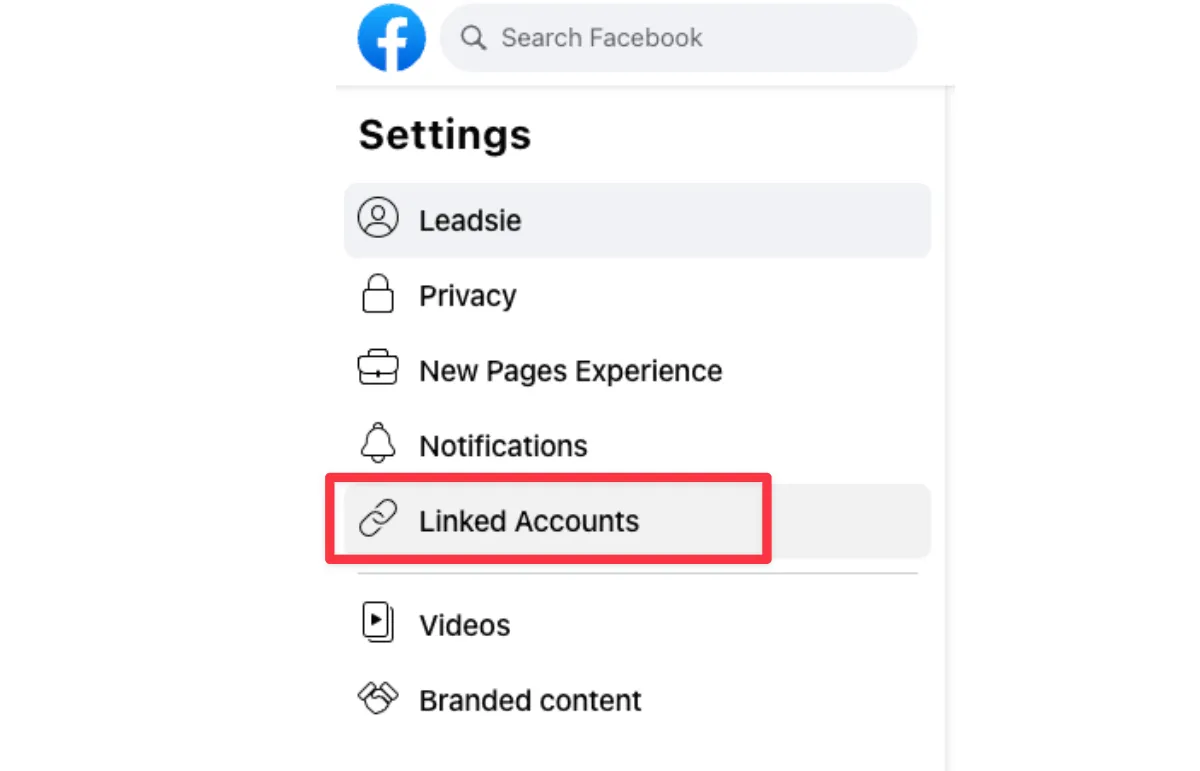
- Go to your Facebook Page → Settings
- Click Linked Accounts (or Instagram) in the left menu
- Click Connect Account
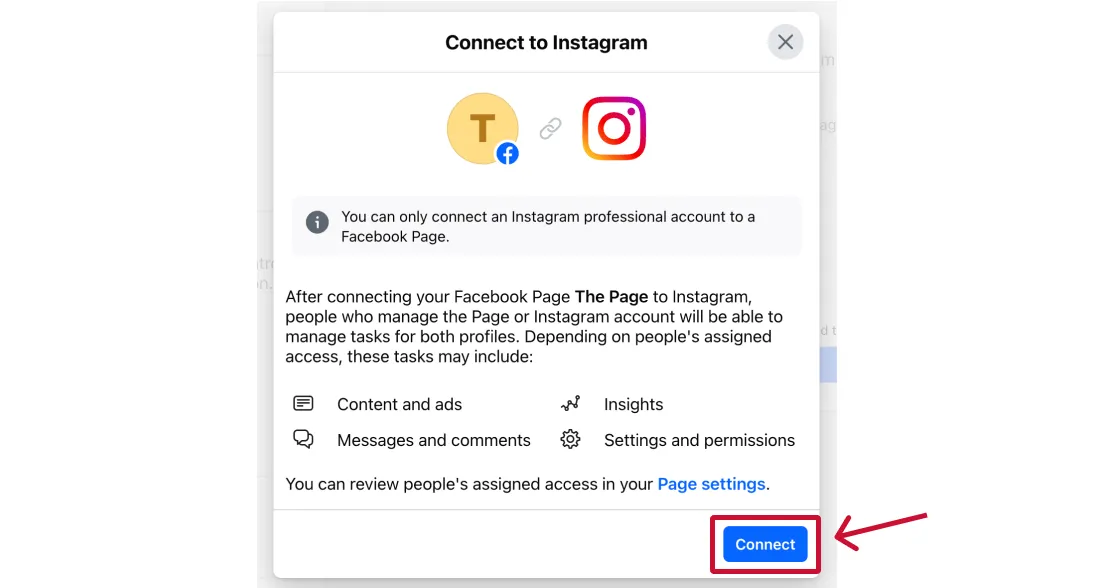
- Log in to Instagram and authorise the link
📖 Official guide: Connect Instagram to a Facebook Page
📖 See also: Add an Instagram account to your Business Portfolio
Step 4: Connect in Autoposter
- Log in to Autoposter
- Go to Accounts → click + → select Instagram
- Facebook will open — select the Page that's linked to your Instagram
- Grant all permissions when prompted
- Your Instagram account should now appear in Autoposter
Troubleshooting
"No Instagram accounts found"
- Your Instagram is not linked to the Facebook Page you selected during connection
- Check the link exists in both your Instagram app (Edit Profile → Page) and your Facebook Page settings (Linked Accounts)
"Permissions error"
- You must be an admin of the Facebook Page — editor or moderator roles don't have enough access
- Try disconnecting in Autoposter and reconnecting, granting all permissions
Still not working?
- Clear your browser cookies for autoposter.typamanagement.com and try in an incognito/private window
- Make sure your Instagram is set to Business or Creator (not Personal)
- If you recently changed your Instagram password, you may need to re-link in Meta Business Suite
- Check Meta's status page if the connection keeps failing — occasional outages can affect linking